Porsche 997 Carrera · Paint protection film
How to install PPF on a Porsche 997 front fender.
See how careful positioning, clean adhesive and finished edges make the difference.
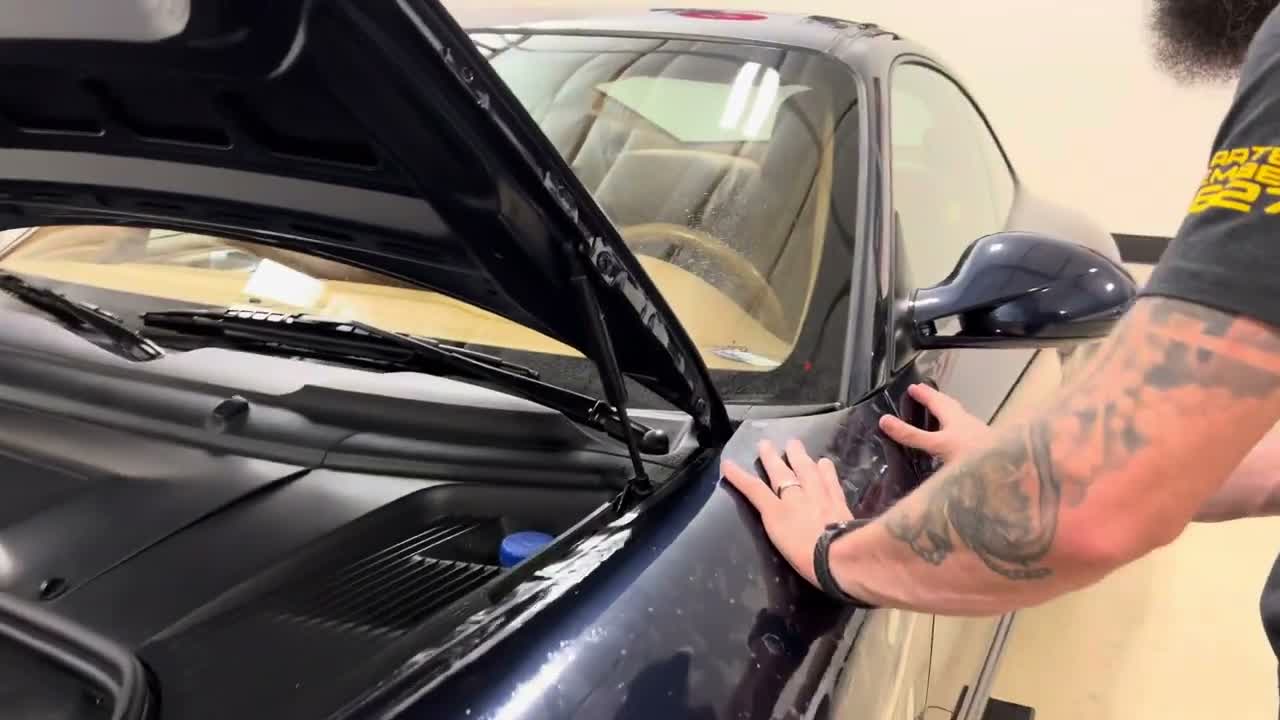
The difference is in the details: clean adhesive, careful positioning and edges that stay put. Follow this real Auto Vos installation to see how those details are handled.
Watch the full 31-minute installation. Watch on YouTube if the player does not load.
Before you start
This guide follows a 2012 Porsche 997 Carrera using XPEL ULTIMATE PLUS clear paint protection film. The film pattern and headlight access are specific to this car. The video starts with the film ready to fit; it is not a guide to cutting a pattern or repairing paint.
Use clean tools, a clean work area and the film manufacturer’s installation guidance. The installer discusses his own solution mixtures and edge-preparation method; do not treat those as instructions for every film or surface. If the paint has been repaired or is already damaged, check its suitability before installation.
Step 1 of 7
Wet the panel and keep the adhesive clean
Wet the fender before bringing the film over. Handle the film from an edge that will wrap under the hood where possible, and keep the adhesive away from fingers, clothing and the tire. The headlight is already out on the car shown, which gives access around its opening.
What makes the difference: A speck on your hand can end up under the film. Watch the loose sheet as well as the area you are holding; letting it touch the tire means stopping to deal with contamination.
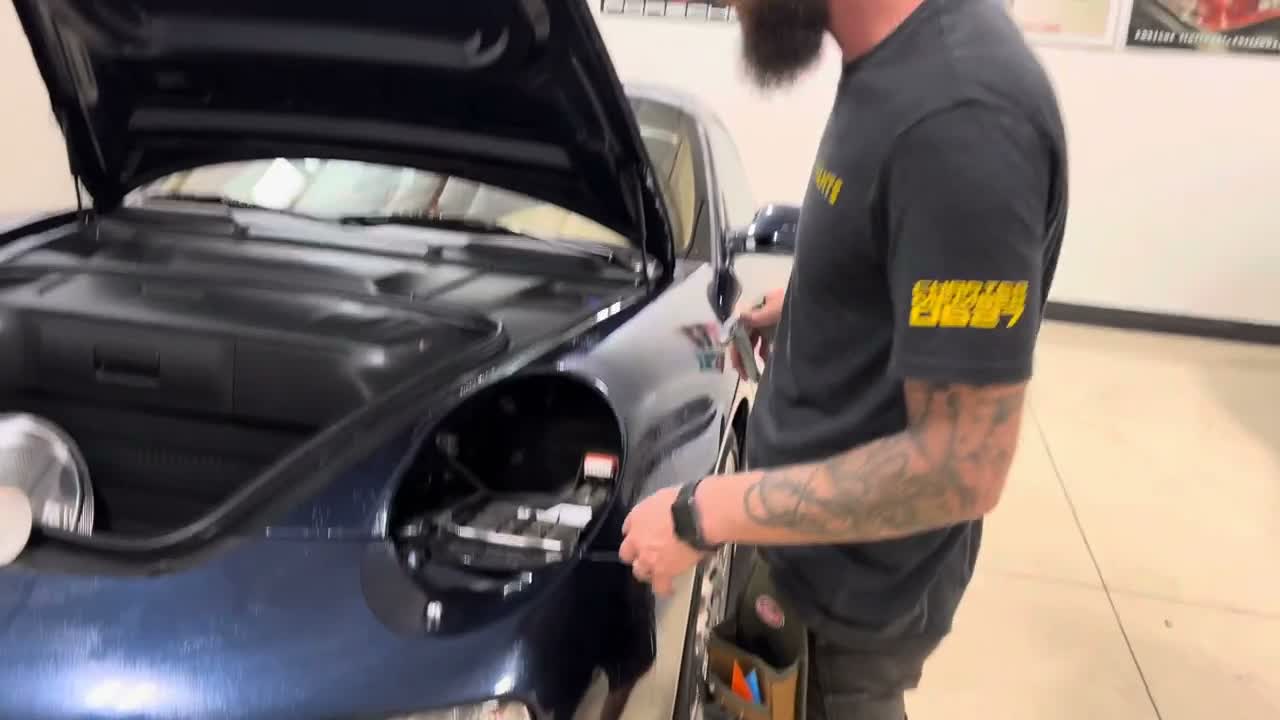
Wetting the dark blue Porsche 997 front fender before fitting paint protection film. See 01:02 in the full installation. Watch this step (short clip)
Silent close-up of this step. The full video above includes the installer’s explanation.
Step 2 of 7
Position the film before locking an edge
Lay the wet film over the fender and check its position against the panel edges. Keep enough control that it cannot slide into the tire. On this 997 pattern, the installer starts at the rear edge; that starting point is specific to the pattern and panel shown.
What makes the difference: Check the whole piece before committing to the first anchor. Correct alignment leaves material where the pattern needs it, without relying on extra stretch later.
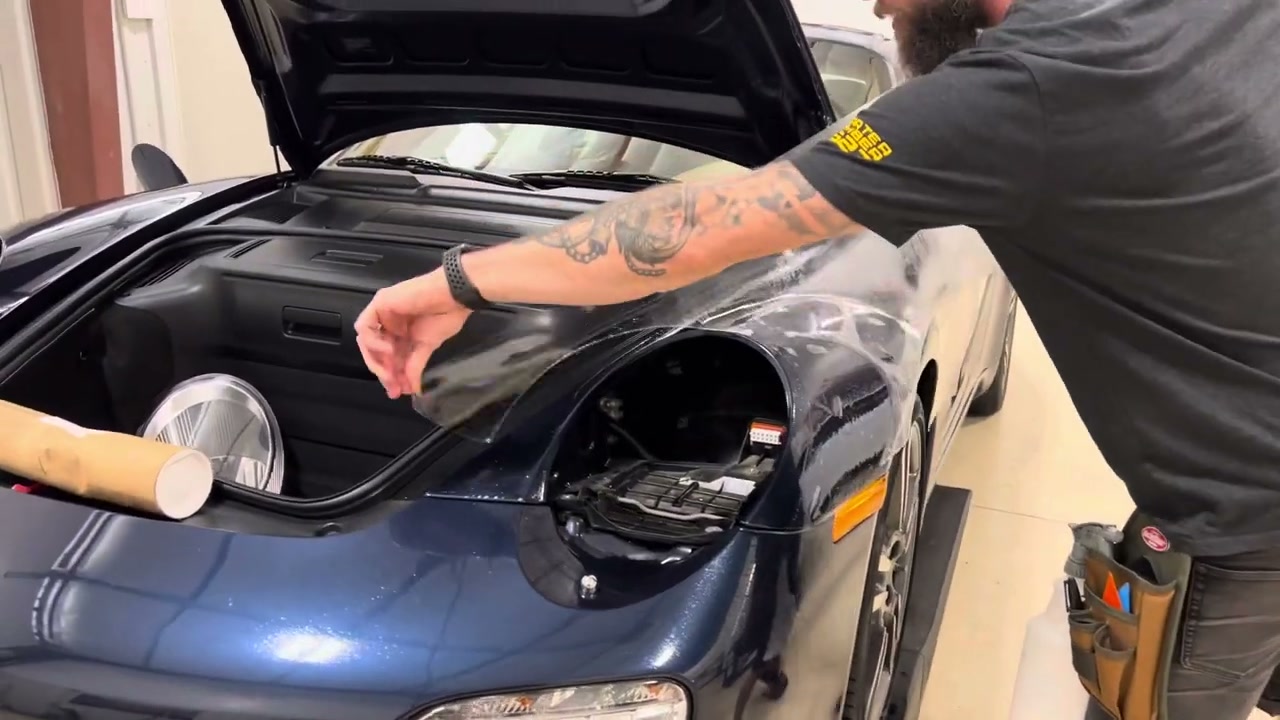
Positioning clear PPF over the Porsche 997 front fender. See 03:04 in the full installation. Watch this step (short clip)
Silent close-up of this step. The full video above includes the installer’s explanation.
Step 3 of 7
Anchor the rear edge and work out the solution
Secure the initial edge, then work away from it with controlled squeegee passes. Check where the film edge sits as you go. Use a clean cloth to see through the surface moisture before locking down the next area.
What makes the difference: Move solution toward an open edge. A pass that looks smooth while wet can still hide contamination or a trapped pocket; wipe and inspect before moving on.
Anchoring the rear section of the Porsche 997 fender film. See 03:41 in the full installation. Watch this step (short clip)
Silent close-up of this step. The full video above includes the installer’s explanation.
Step 4 of 7
Lift only enough film to remove contamination
If you find a speck, stop. Lift the section you can access and clean, introduce application solution and work it around the end of the wet line. In the video, the installer chooses an accessible side of the pattern rather than peeling back the whole fender.
What makes the difference: Keep the clean adhesive protected. Forcing solution into an already bonded area can leave a visible adhesive line. Recheck the cleaned section before pressing it down.
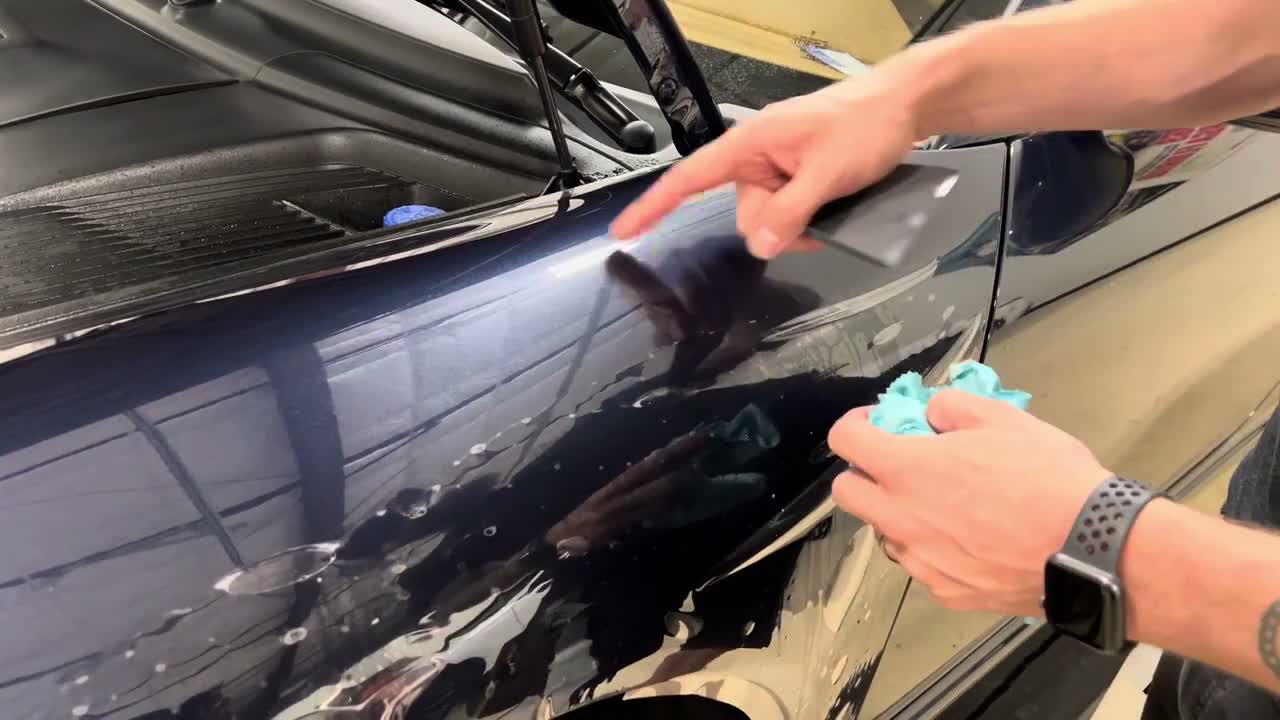
Lifting a section of PPF to clean beneath the Porsche fender film. See 07:17 in the full installation. Watch this step (short clip)
Silent close-up of this step. The full video above includes the installer’s explanation.
Step 5 of 7
Break a large finger into smaller sections
When a raised channel, or “finger,” forms, start farther back and work it into smaller channels with controlled passes. Leave a route for the water to escape, then close each smaller section in turn.
What makes the difference: Do not seal all sides of a pocket and leave the solution trapped inside. The installer also points out an existing paint scratch: inspect the paint first so you can distinguish old damage from an installation problem.
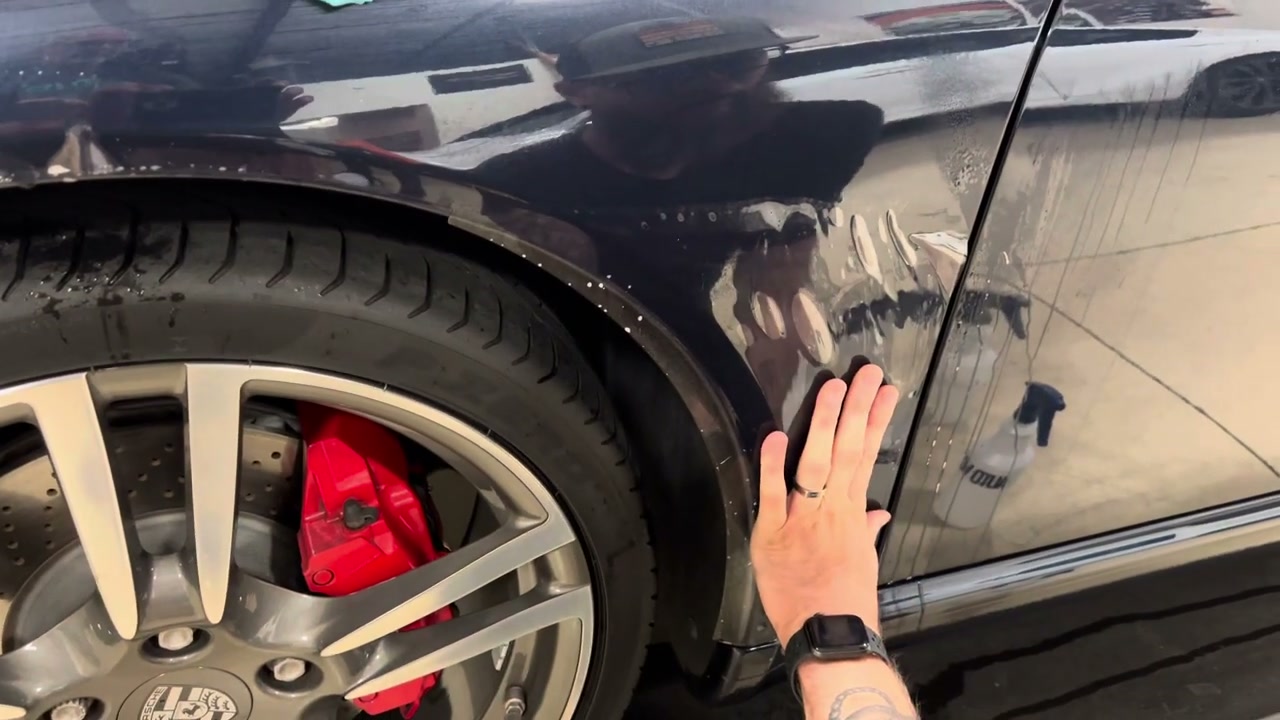
Squeegee work around a raised channel in the Porsche 997 paint protection film. See 15:40 in the full installation. Watch this step (short clip)
Silent close-up of this step. The full video above includes the installer’s explanation.
Step 6 of 7
Dry the surface and inspect the edges
Wipe the surface with a clean microfiber cloth and inspect the actual film edge. Check for remaining fluid, raised areas and streaks. The demonstration leaves material beyond the edge for later finishing rather than pulling on wet film to force the fit.
What makes the difference: An edge that looks settled through a wet surface may still need attention. Inspect it dry and from more than one angle before deciding it is finished.
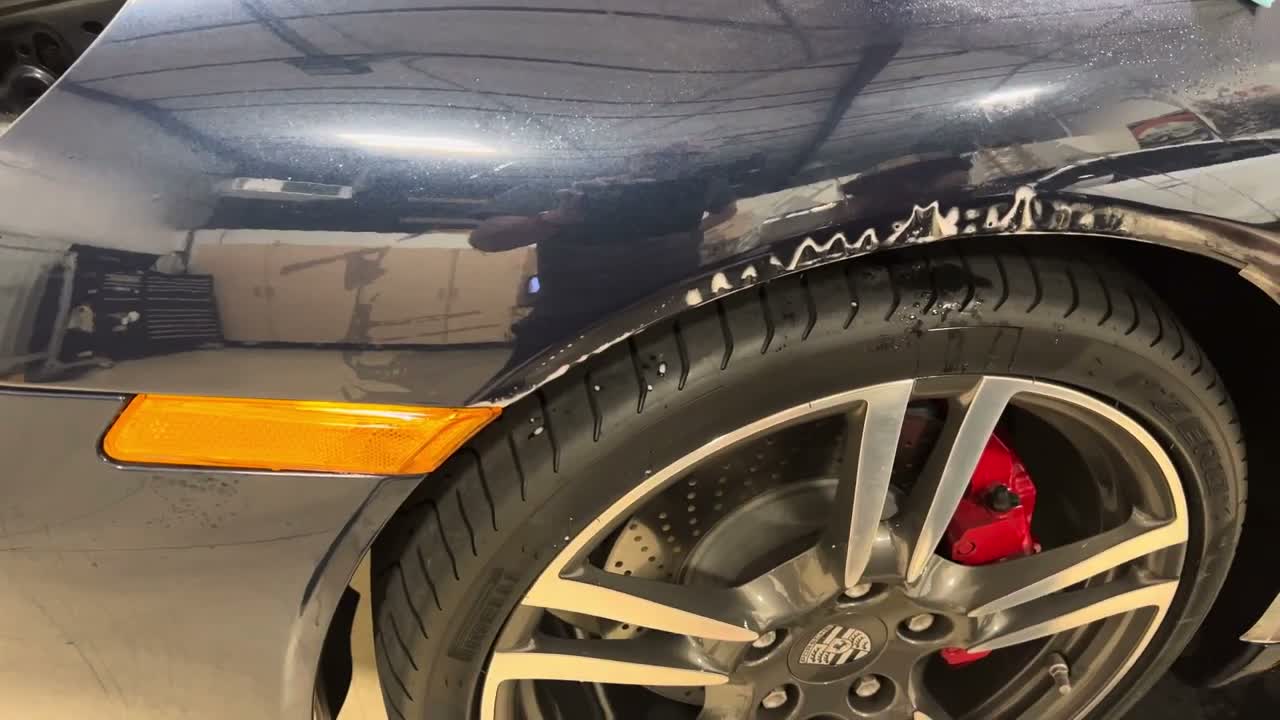
Inspecting PPF fit along the Porsche front fender edge. See 18:20 in the full installation. Watch this step (short clip)
Silent close-up of this step. The full video above includes the installer’s explanation.
Step 7 of 7
Finish the edge after it has settled
Work back along the edge to press down remaining pockets and check adhesion. The installer waits until the edge is drier before final trimming so the film is less likely to lift. Follow the film maker’s instructions for any edge preparation product and keep it off incompatible surfaces.
What makes the difference: Finishing is an inspection step, not just a final pass with the tool. Check the entire edge, avoid unnecessary tension and arrange a follow-up inspection if an edge changes as the film settles.
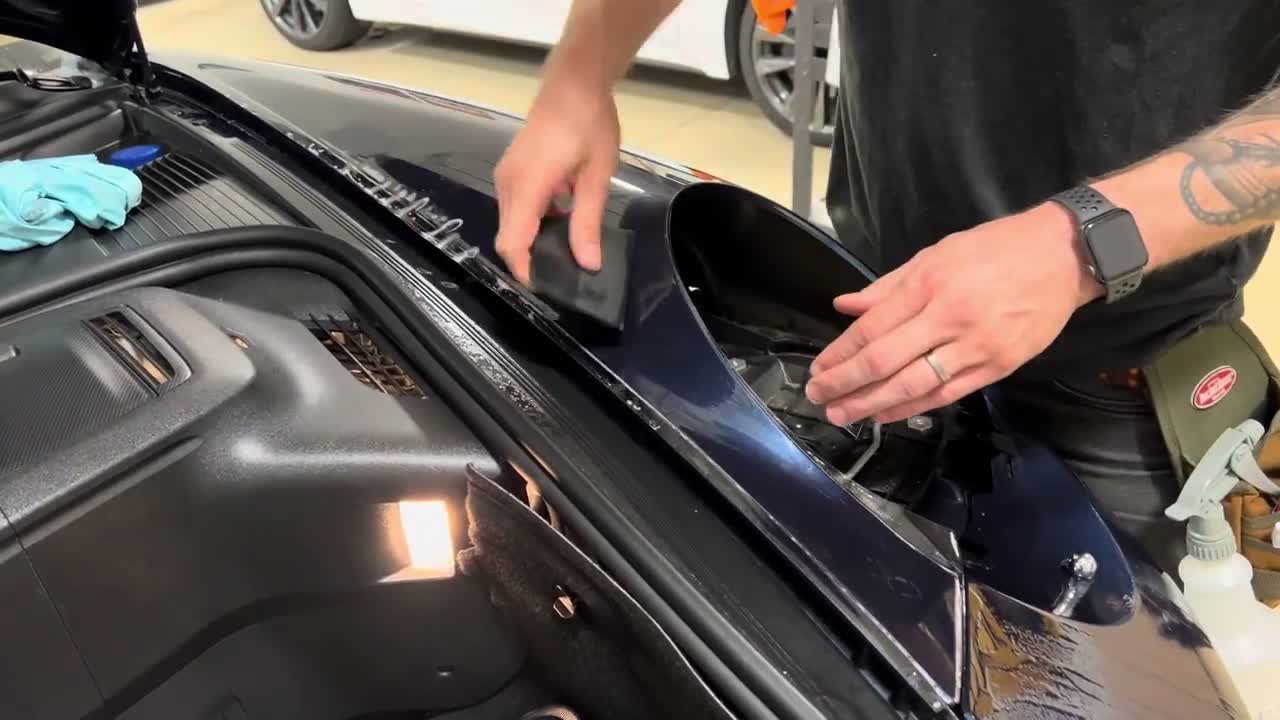
Finishing clear paint protection film around the Porsche 997 fender. See 23:10 in the full installation. Watch this step (short clip)
Silent close-up of this step. The full video above includes the installer’s explanation.
Already tried it and something looks wrong?
If you have creases, trapped dirt or edges that keep lifting, send us photos before adding more heat or pulling the film off. We can talk through an inspection, removal or replacement. PPF will not repair a scratch or chip already in the paint.
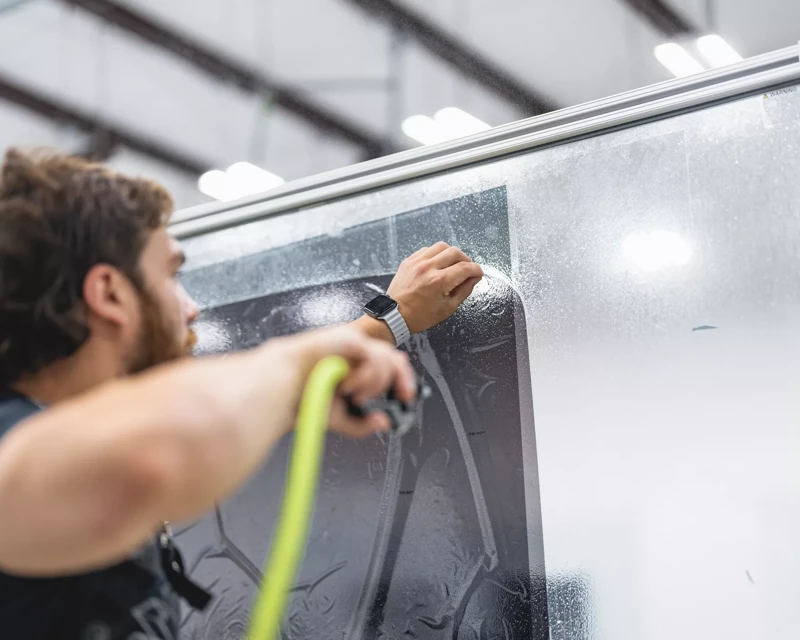
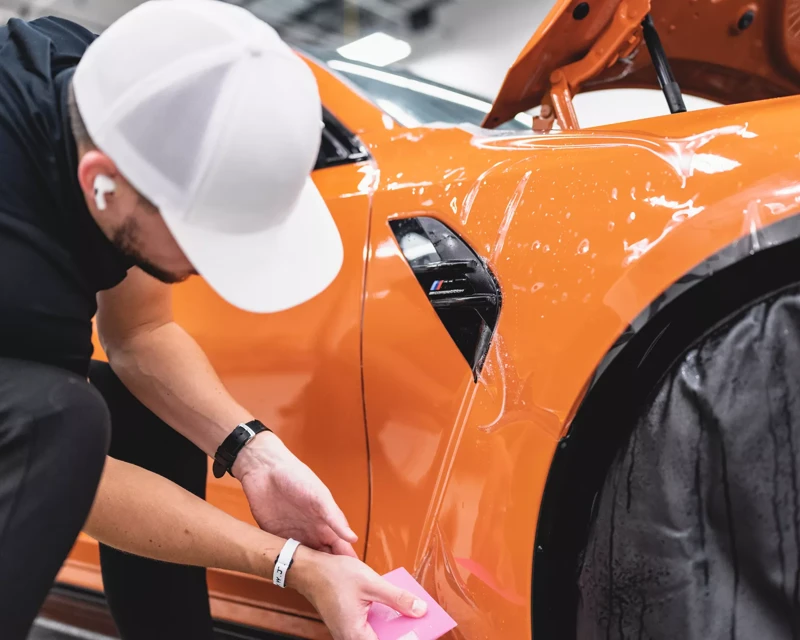
If you are still deciding whether to do it yourself, these close-ups show why the finishing work matters. You can also use them to ask an installer how they handle contamination, tension and edge checks.
Want us to protect your Porsche?
Tell us the model year, the panels you want covered and whether there is existing film, paint damage or a DIY installation to assess. We’ll discuss the work and give you a quote at our Colorado Springs shop. Get a quote.
Get a Porsche PPF quote