Porsche 911 Targa · Window tint
How to tint a Porsche 911 Targa rear window.
Follow a real installation, from cleaning the curved glass to checking the finished edges.
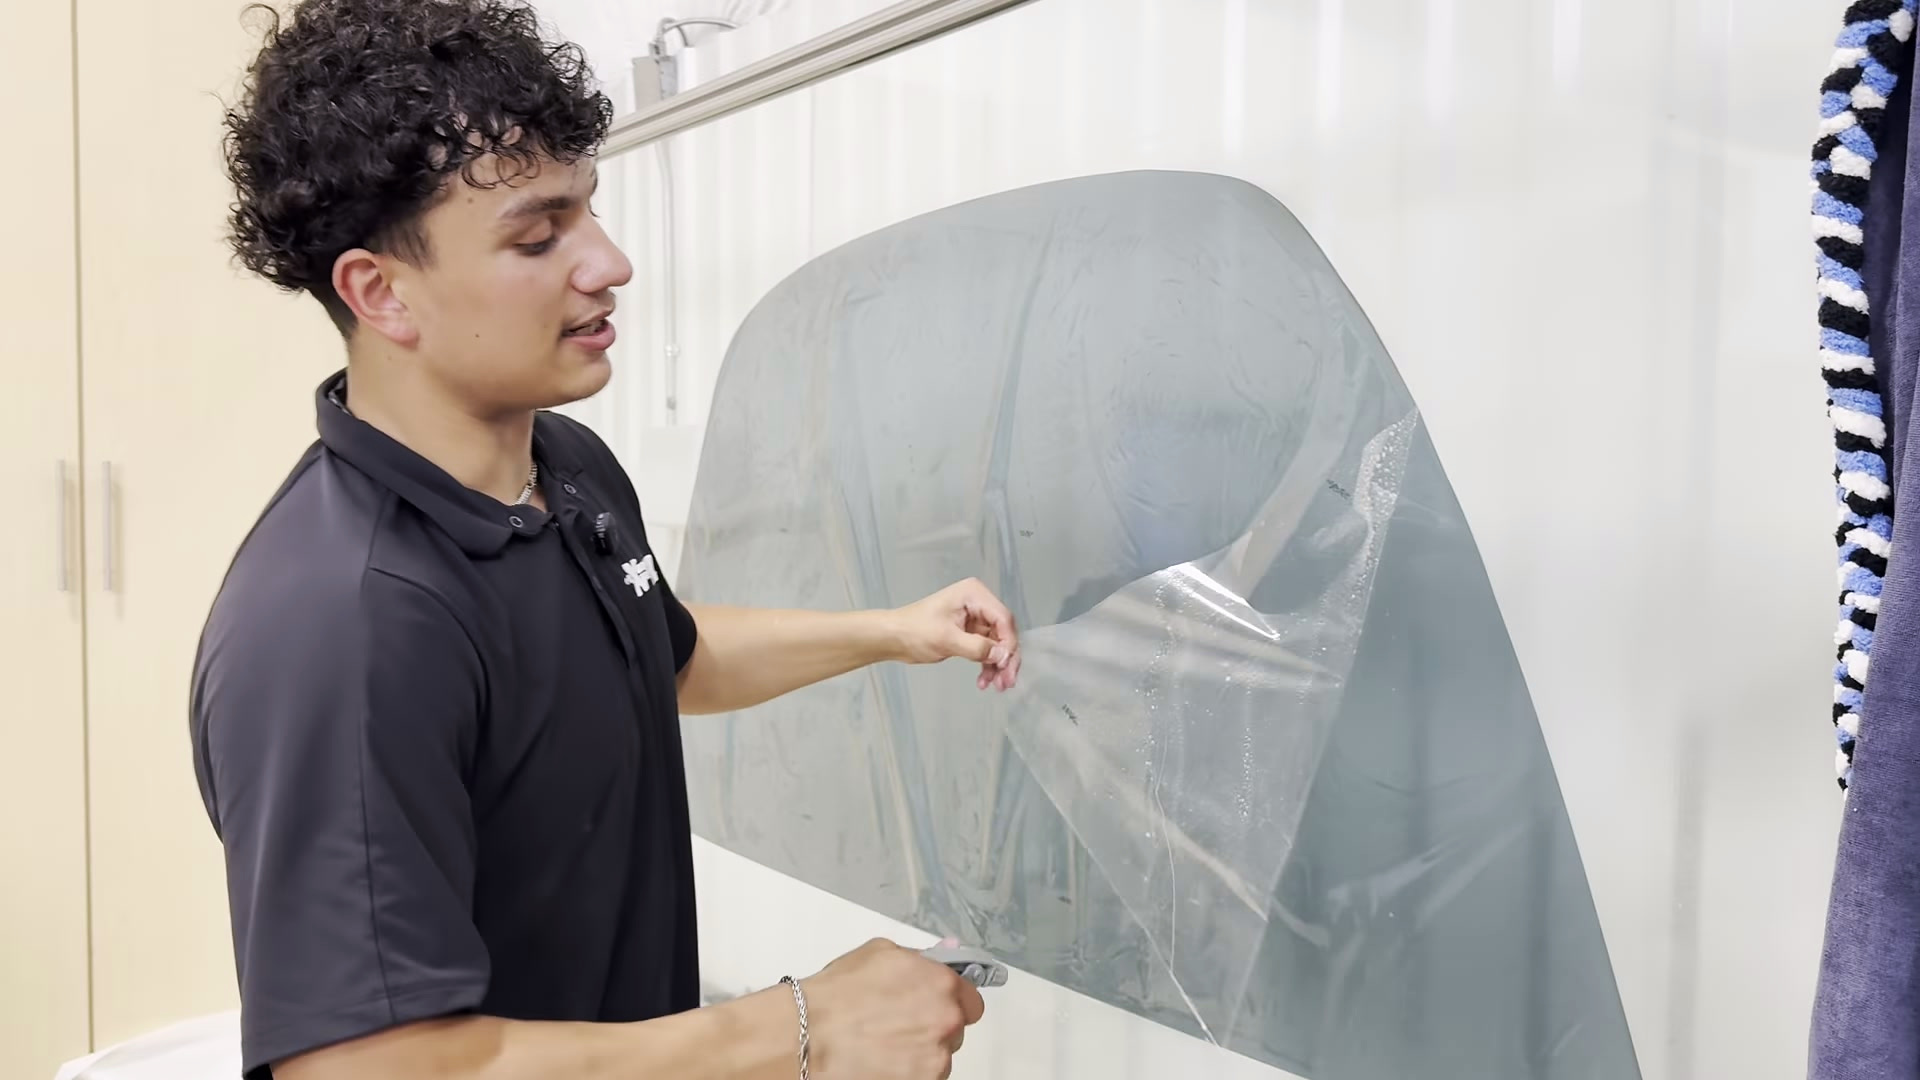
The curve is only part of the challenge. A clean result also means keeping dust off the adhesive, fitting film behind the trim and working water out of corners you can barely reach.
This walkthrough follows a real Auto Vos installation without removing the surrounding plastics. Whether you’re planning a DIY attempt, trying to understand what went wrong or choosing an installer, here’s what to look for at each stage.
Watch the full 37-minute installation, then follow the steps below. Watch on YouTube if the player does not load.
Before the first step
The film has already been cut and heat-shaped to this window before the video begins. This guide covers cleaning, transfer, fitting and finishing; it does not show the earlier heat-shrinking process. Access, glass and film requirements can differ by model year.
The installer uses cleaning cloths, a glass-safe scrubber, application solution, squeegees and reaching tools, interior protection and a heat gun. Follow the requirements for your glass and film rather than copying a mixture or heat setting from one demonstration.
Step 1 of 10
Protect the interior and clean the surrounding trim
Leave the surrounding plastics in place, as shown in this installation. Wipe dust from the trim before bringing exposed film into the car, including the low edge behind the rear seats. Protect the interior from application water and keep dirty shoes and tools off it.
What makes the difference: Clean glass is only half the job. Dust sitting on nearby trim can reach the adhesive as the film passes behind it.
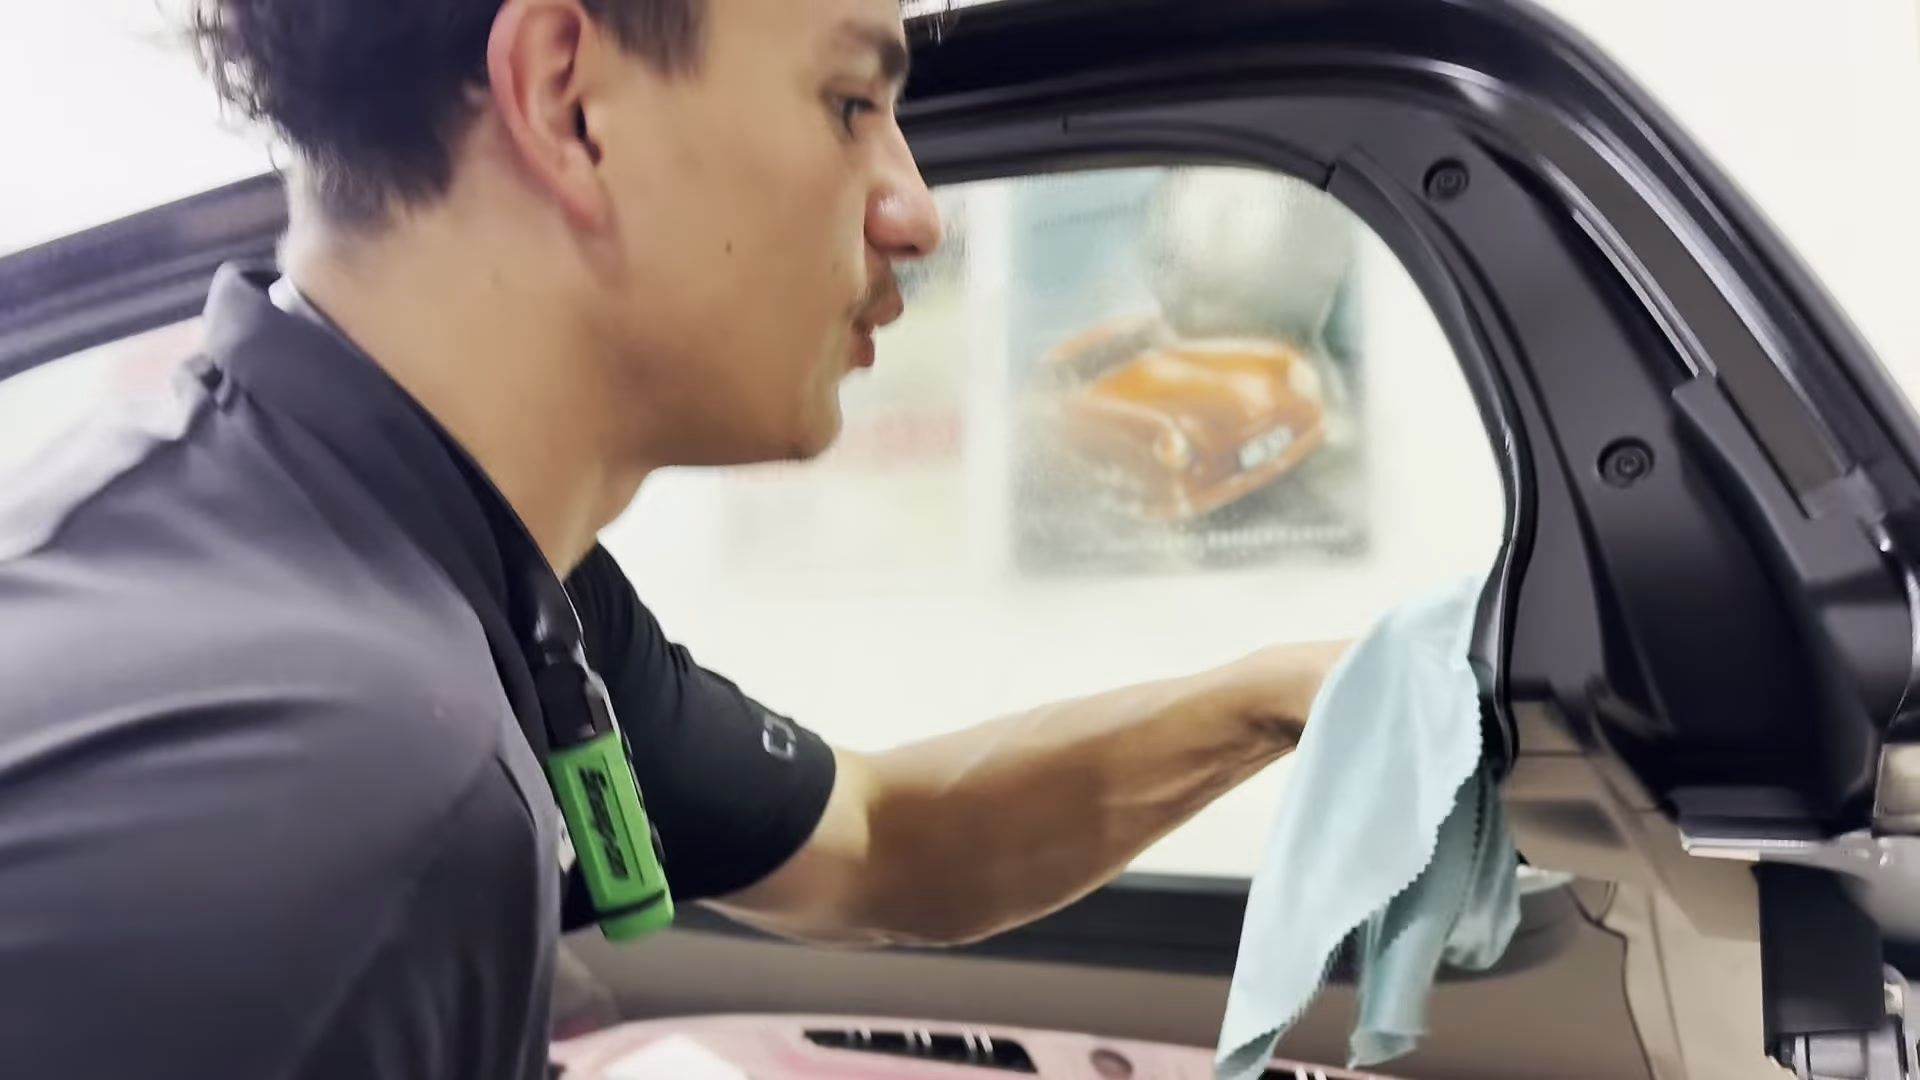
Installer wiping the plastic trim beneath the Porsche Targa rear window. Frame captured at 00:45 in the Auto Vos video. Select the image to inspect it full size. Step 2 of 10
Scrub the entire inside surface of the rear glass
Work over the whole pane with a scrubber suitable for the glass. The installer repeats the cleaning rather than relying on one quick pass. He specifically warns against using a razor on this rear window because of the defroster system.
What makes the difference: Pay as much attention to the corners and bottom edge as the easy-to-reach center. One missed speck can stay visible under the finished tint.
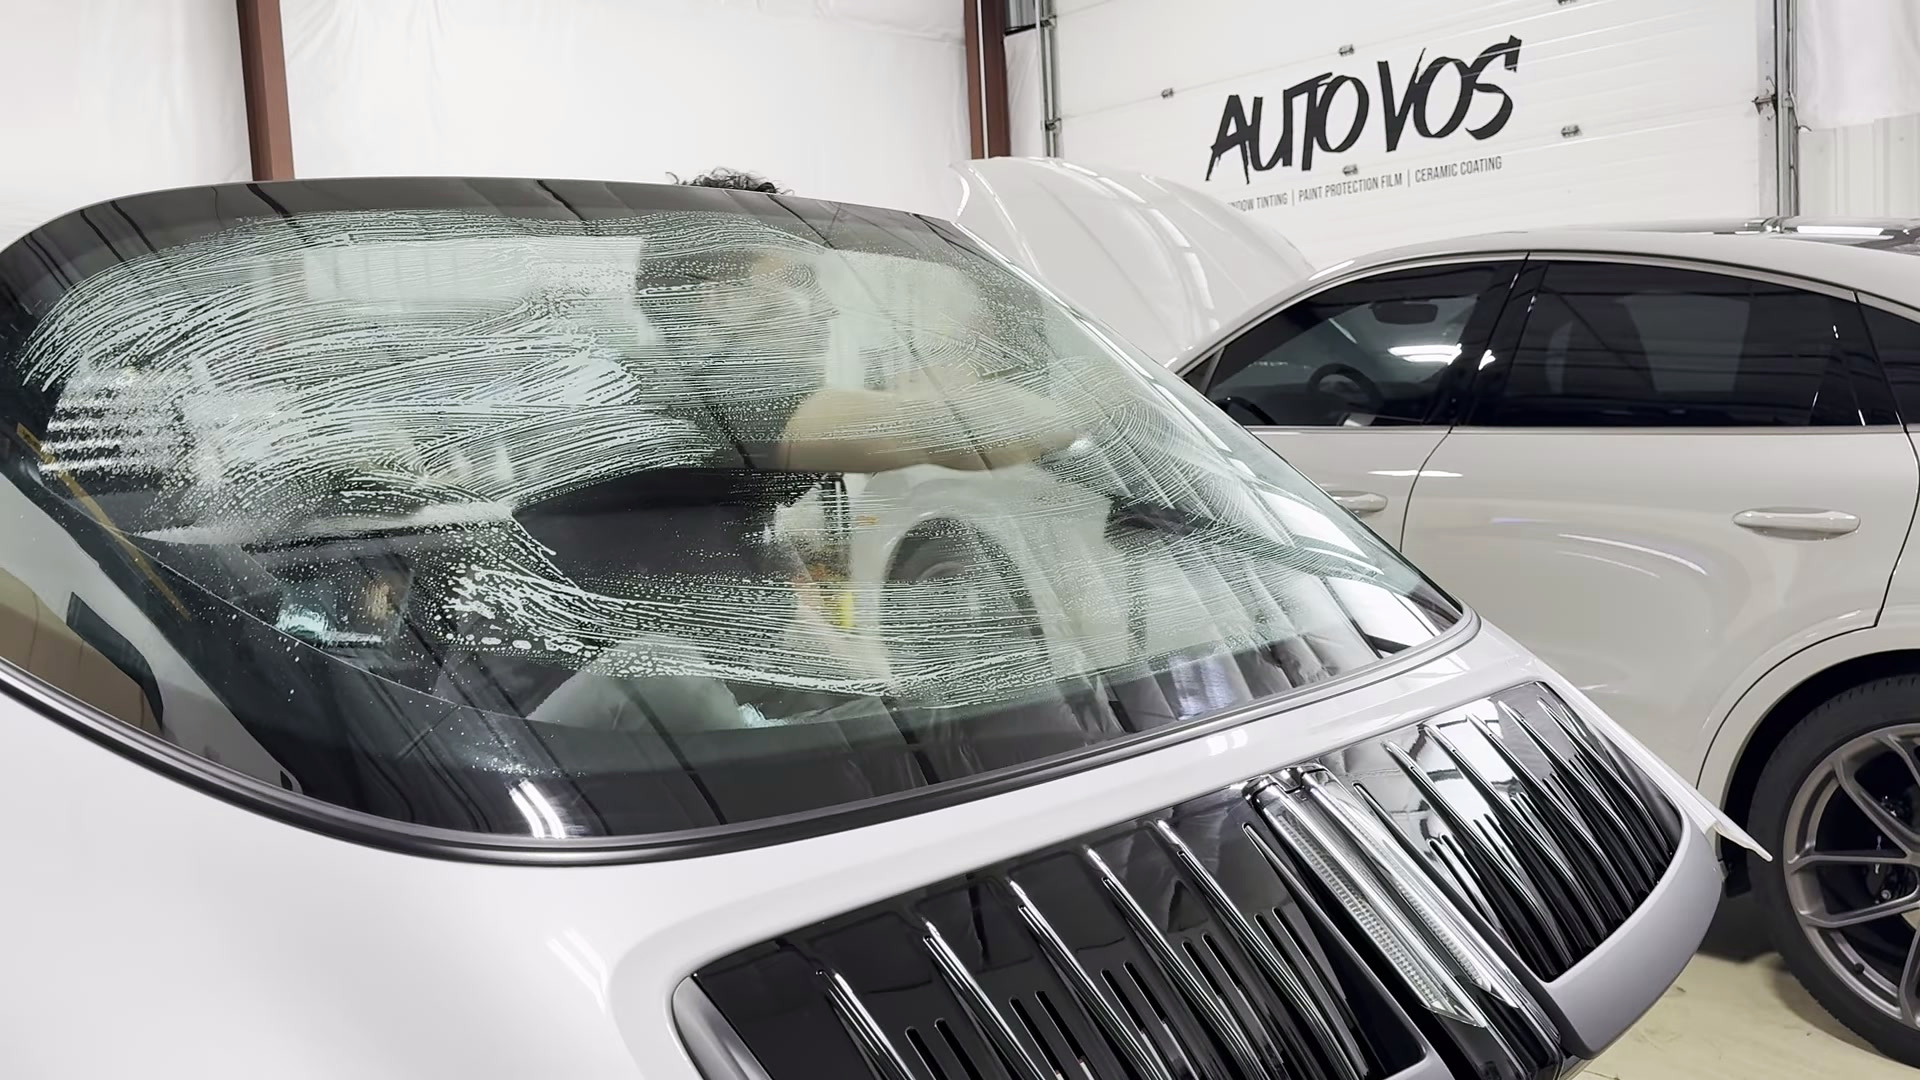
Scrubber working across the inside of the Targa rear glass. Frame captured at 01:30 in the Auto Vos video. Select the image to inspect it full size. Step 3 of 10
Change your squeegee angle around the curves
Squeegee the cleaning solution away in overlapping passes. At the curved sides, turn the tool sideways so its edge stays against the glass. Use a suitable reaching tool along the bottom edge, then wipe the plastics again.
What makes the difference: If half the squeegee lifts off the glass, it is leaving water and contamination behind. Change the angle instead of repeating the same ineffective stroke.
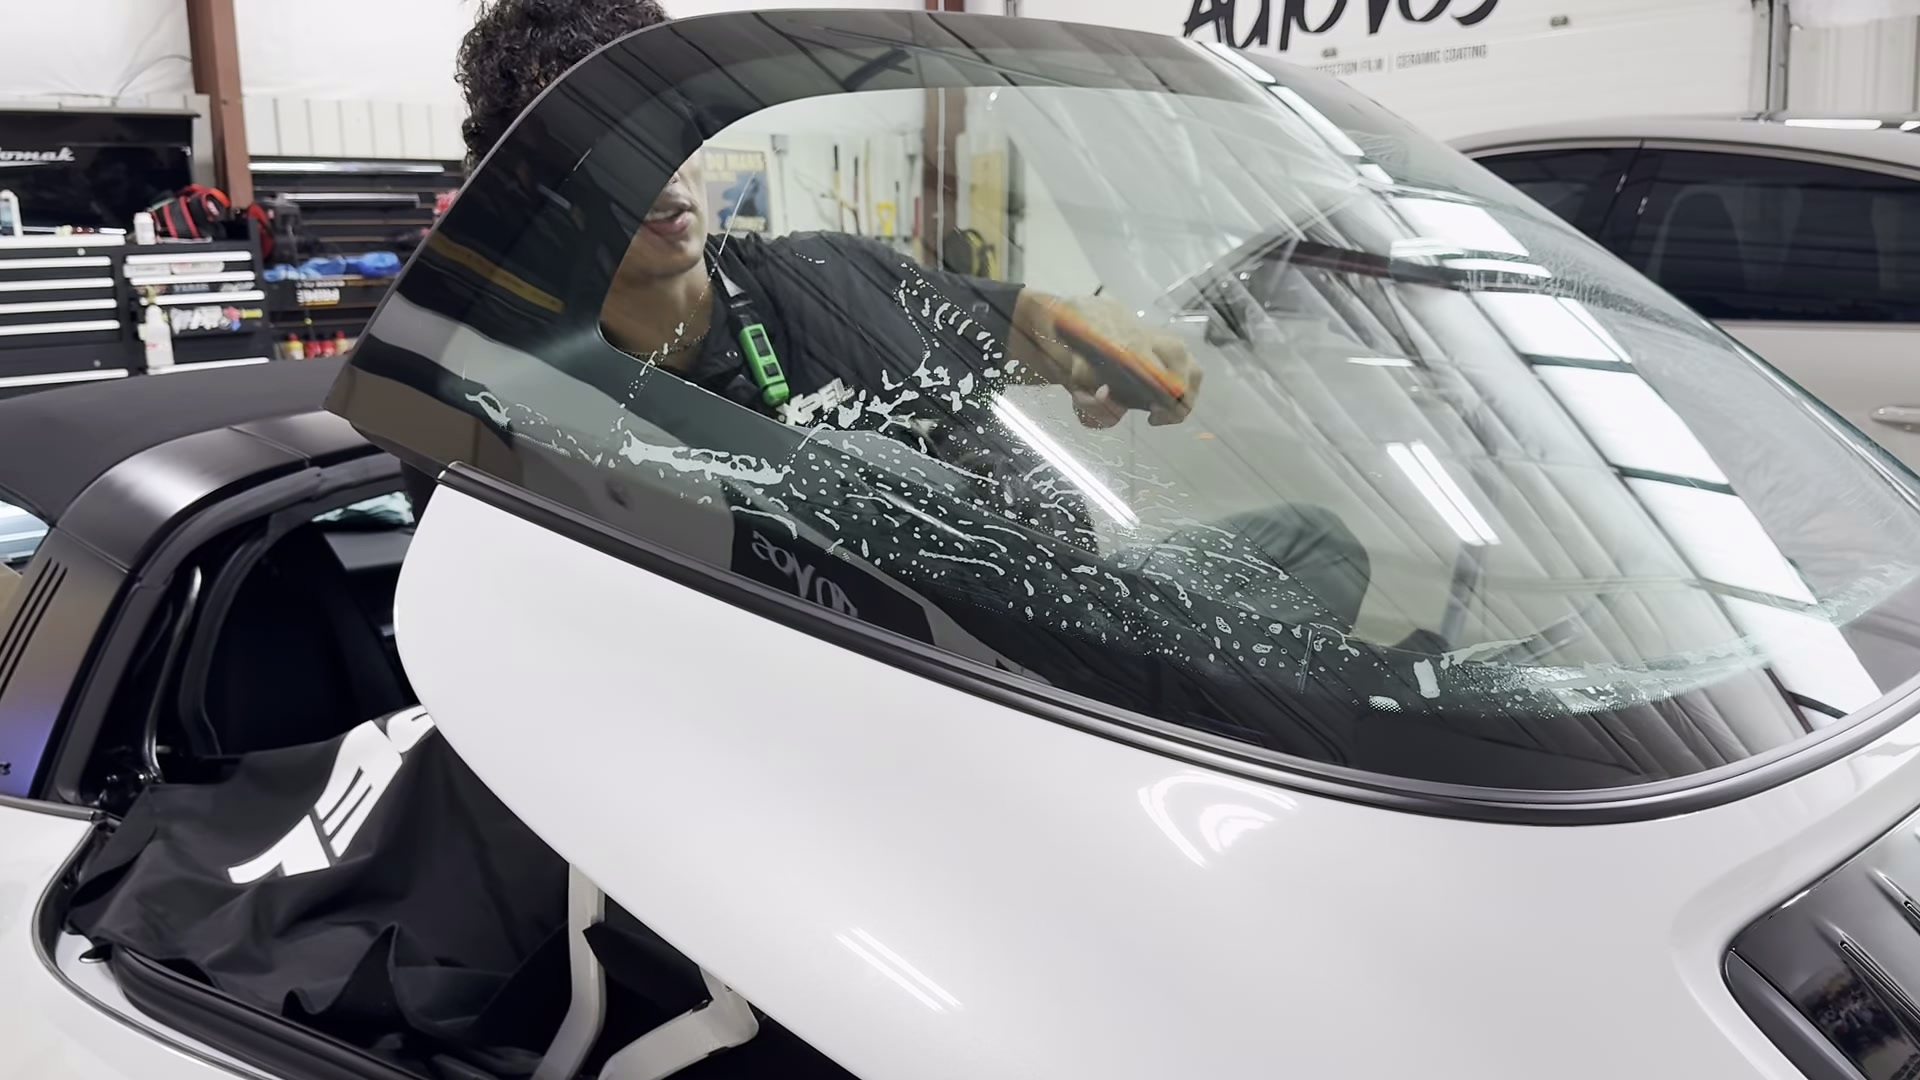
Squeegee angled across the curved side of the Targa rear window. Frame captured at 02:49 in the Auto Vos video. Select the image to inspect it full size. Step 4 of 10
Wet the adhesive as you separate the liner
The film in this video has already been cut and heat-shaped to the rear window. With it supported on a glass work surface, separate the liner while spraying the exposed adhesive. Keep spraying as you work across it, then lay it back down wet.
What makes the difference: Keep the adhesive from drying out or touching dusty trim. The shaped film wants to curl, so support it rather than letting it fold onto itself.
Installer separating the liner from shaped tint film on a glass work surface. Frame captured at 09:14 in the Auto Vos video. Select the image to inspect it full size. Step 5 of 10
Make a tight, even back roll
Smooth the larger air pockets while the film is supported on the glass, then roll the film and liner into a compact roll. Keep the first turns tight and continue evenly across the pane. This is the back-roll, or California-roll, method shown in the video.
What makes the difference: A loose start makes the rest of the roll harder to control. An even roll is easier to carry into the cramped rear cabin without creasing the film.
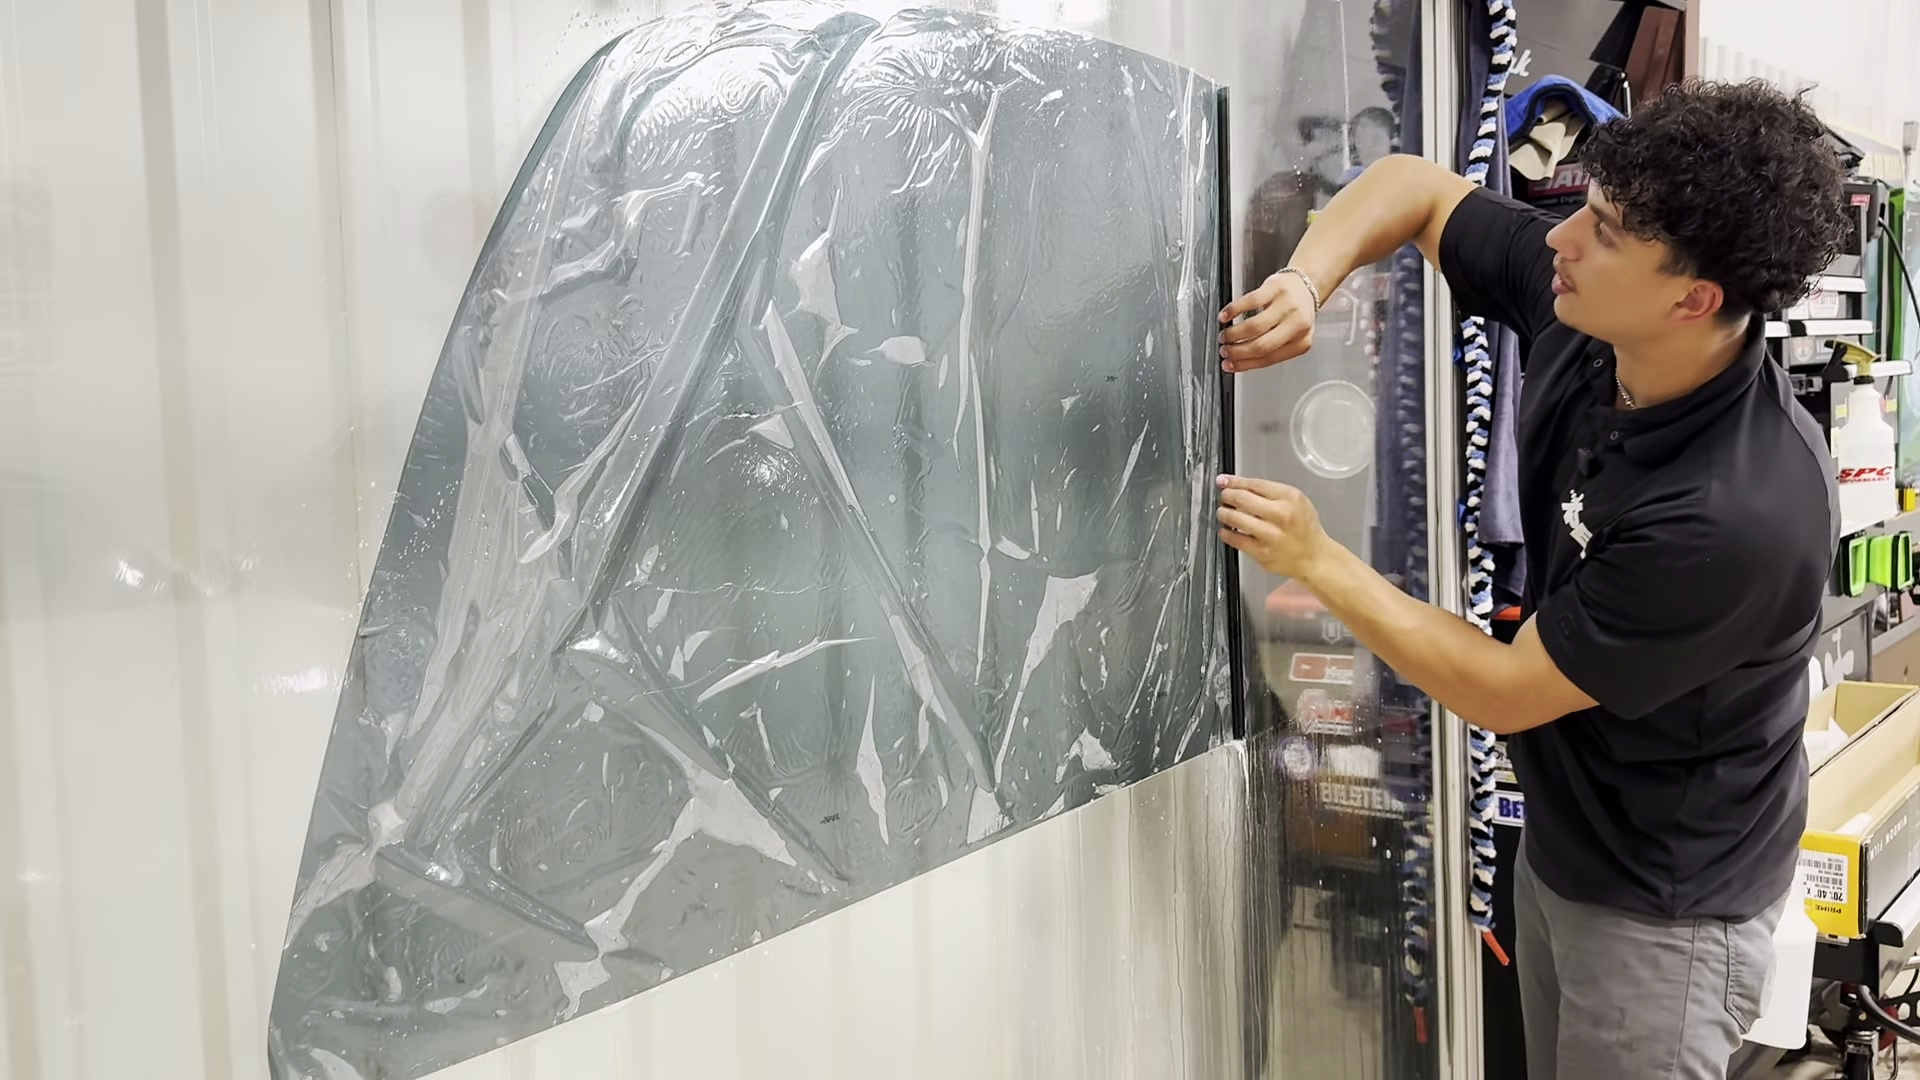
Hands forming an even roll of tint film on the vertical glass work surface. Frame captured at 11:45 in the Auto Vos video. Select the image to inspect it full size. Step 6 of 10
Unroll inside without letting the film catch
Wet the inside glass and the tight upper corners before opening the roll. Support the film on your arm, peel the liner away gradually and keep adding slip solution as you unroll. Let the film move on the wet glass instead of dragging it into place dry.
What makes the difference: Stop and reposition if the film catches. A sharp fold can leave a crease; forcing the roll through a tight corner makes that more likely.
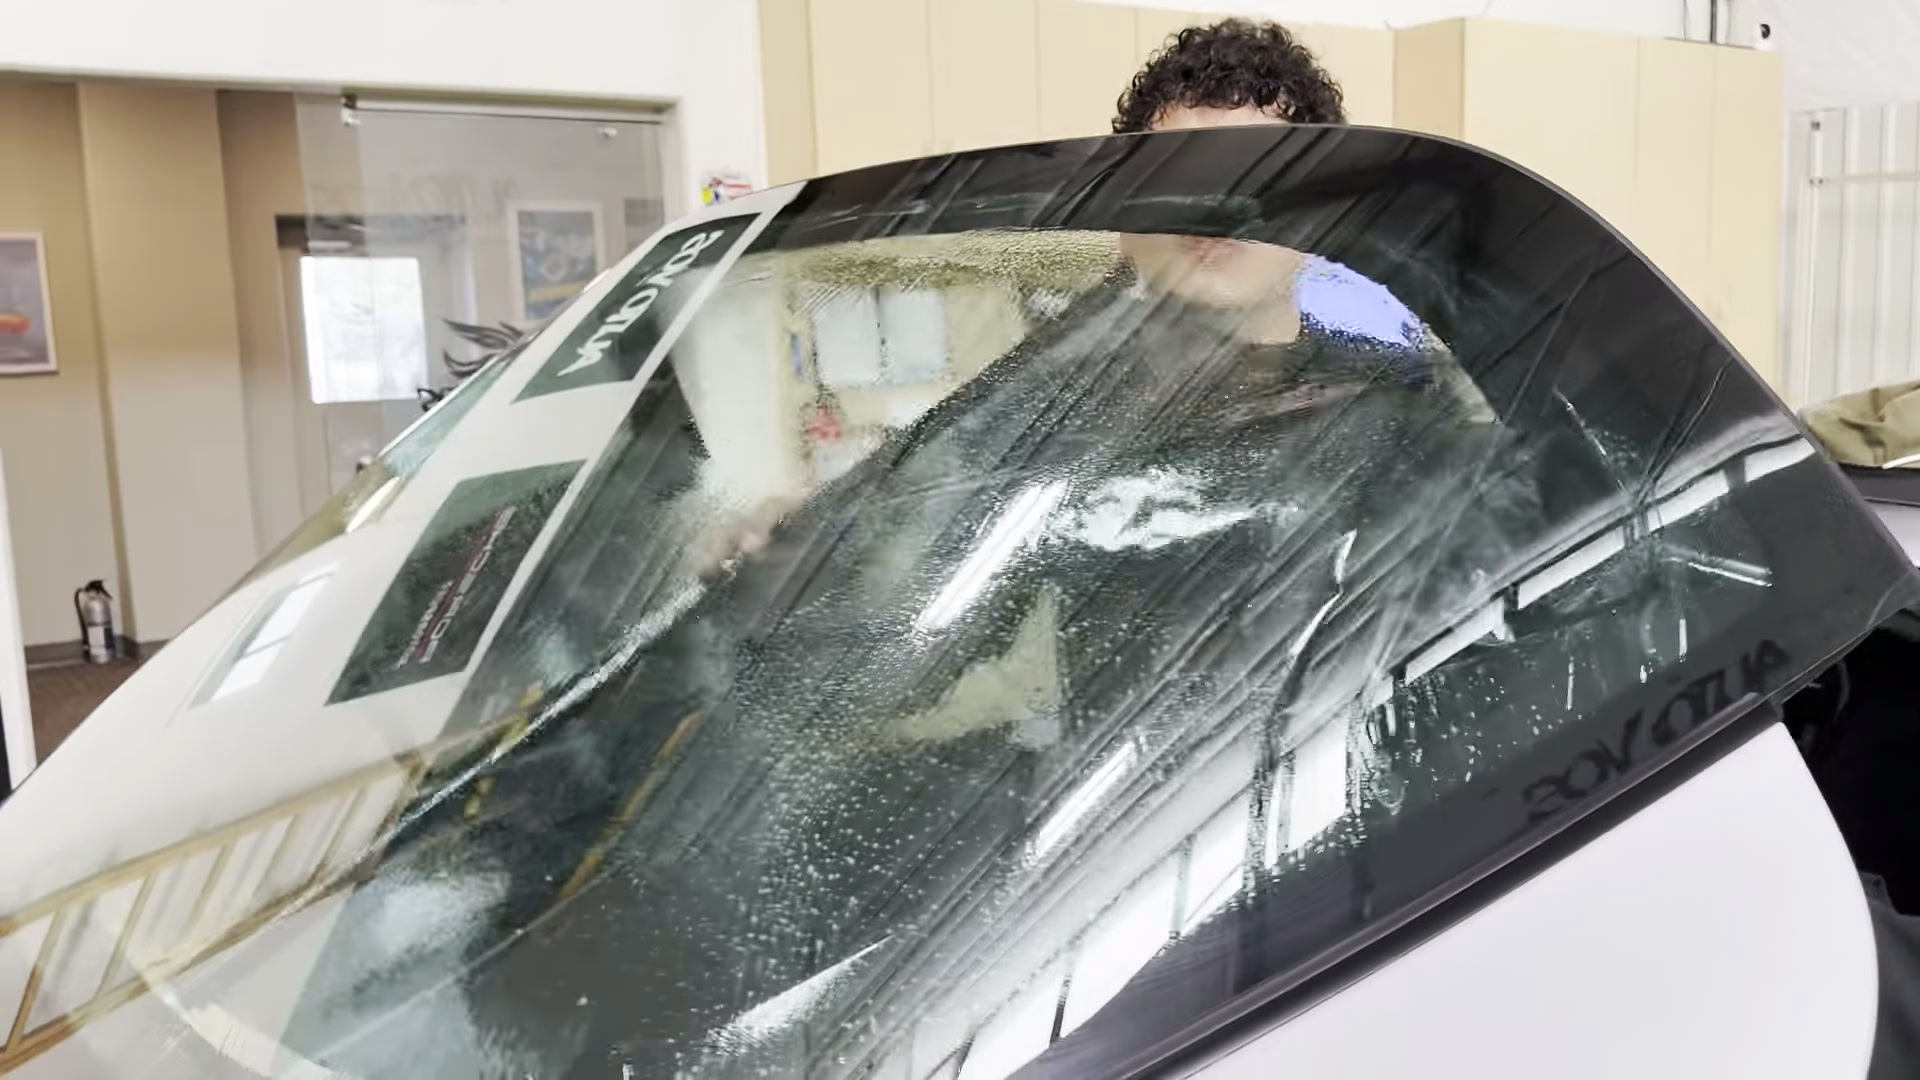
Tint film being unrolled and supported inside the Targa rear window. Frame captured at 15:32 in the Auto Vos video. Select the image to inspect it full size. Step 7 of 10
Check the fit before anchoring the film
Spread the film evenly across the glass and ease out areas with too much tension. Check the perimeter for light gaps while the film is still movable. In the video, a second person checks from outside, and the installer uses a bright object to help judge coverage.
What makes the difference: Do not lock down the center until the edges line up. A small positioning adjustment now is easier than trying to move film after squeezing out the water.
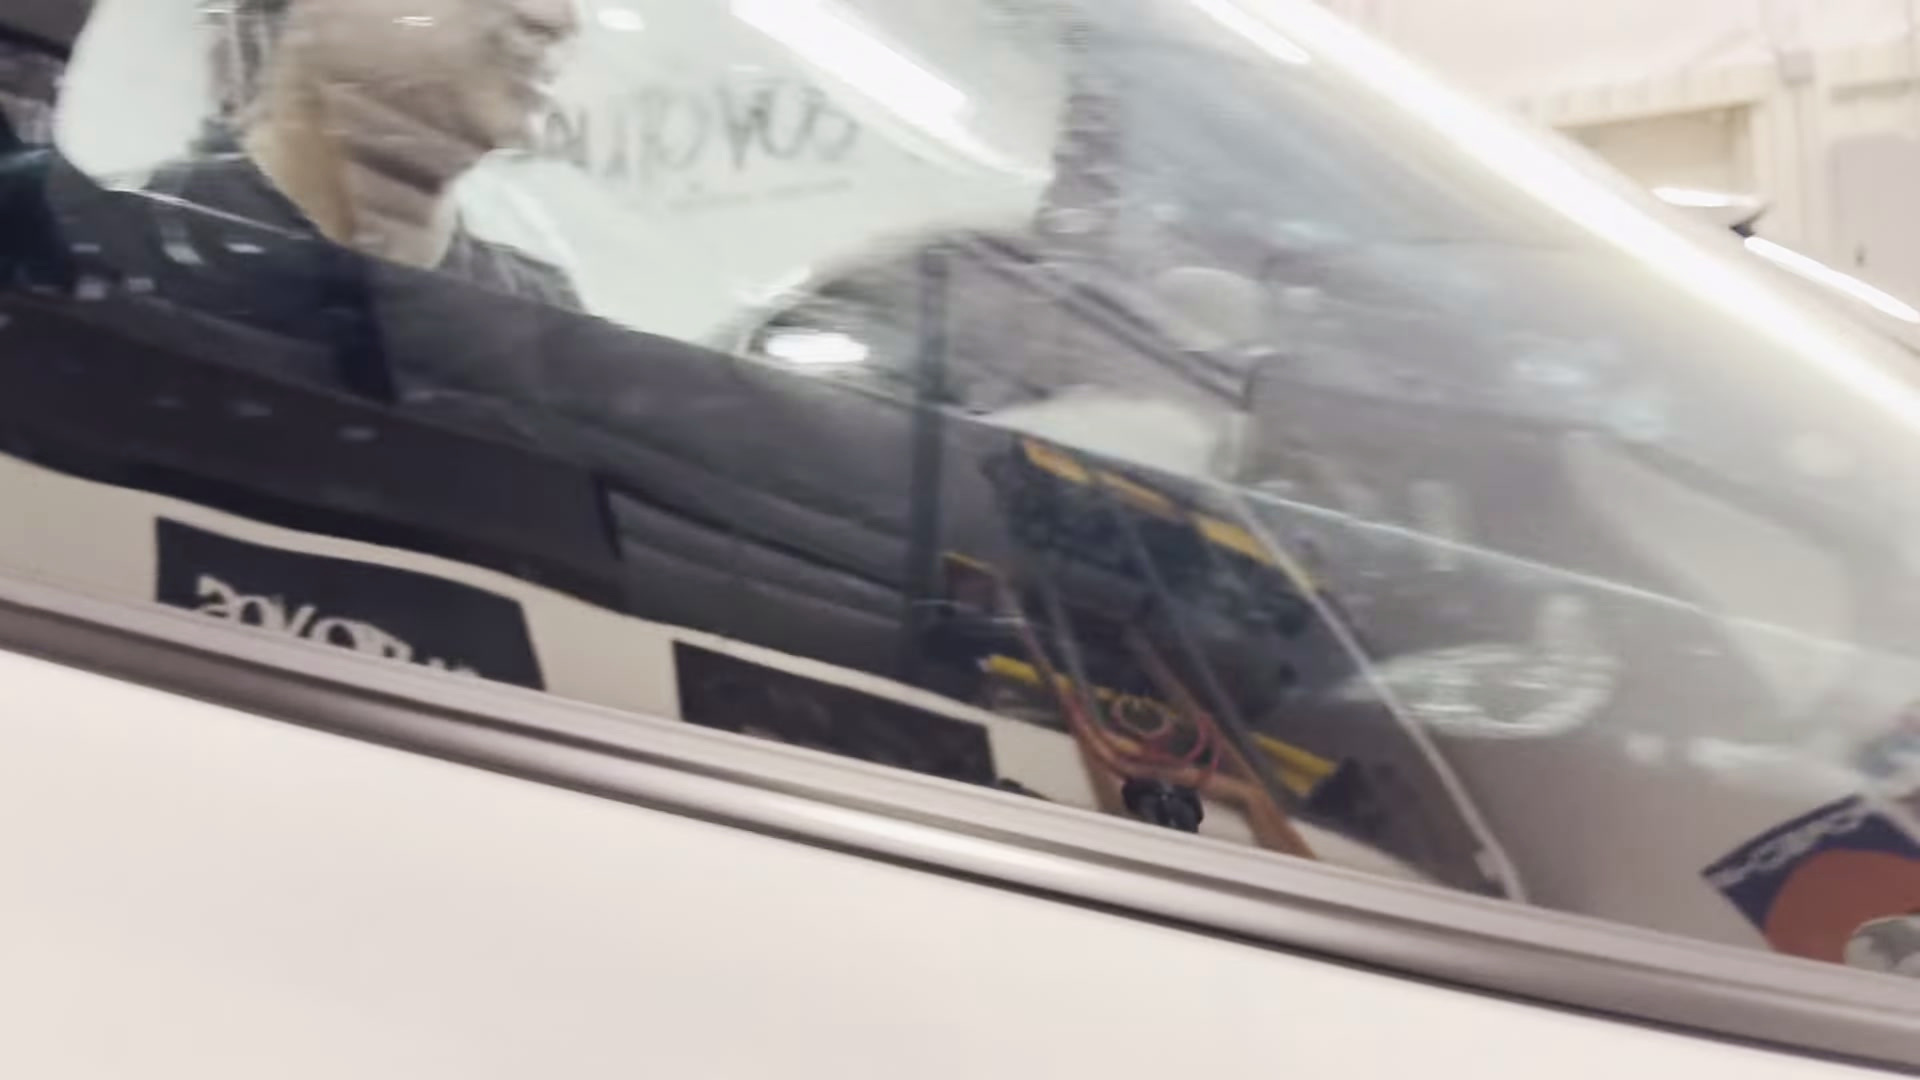
Installer checking the positioned film against the edge of the Targa rear glass. Frame captured at 22:16 in the Auto Vos video. Select the image to inspect it full size. Step 8 of 10
Anchor the middle, then work outward
Hold the film steady and make the initial squeegee passes in the middle to create an anchor. Work from that center toward each side, following the curve. Revisit sections while they are still wet rather than leaving water behind to dry.
What makes the difference: Move the water and tension toward the nearest edge. Dragging film from one side of the window to the other can create new wrinkles. The installer also warns that working a drying section can leave visible marks.
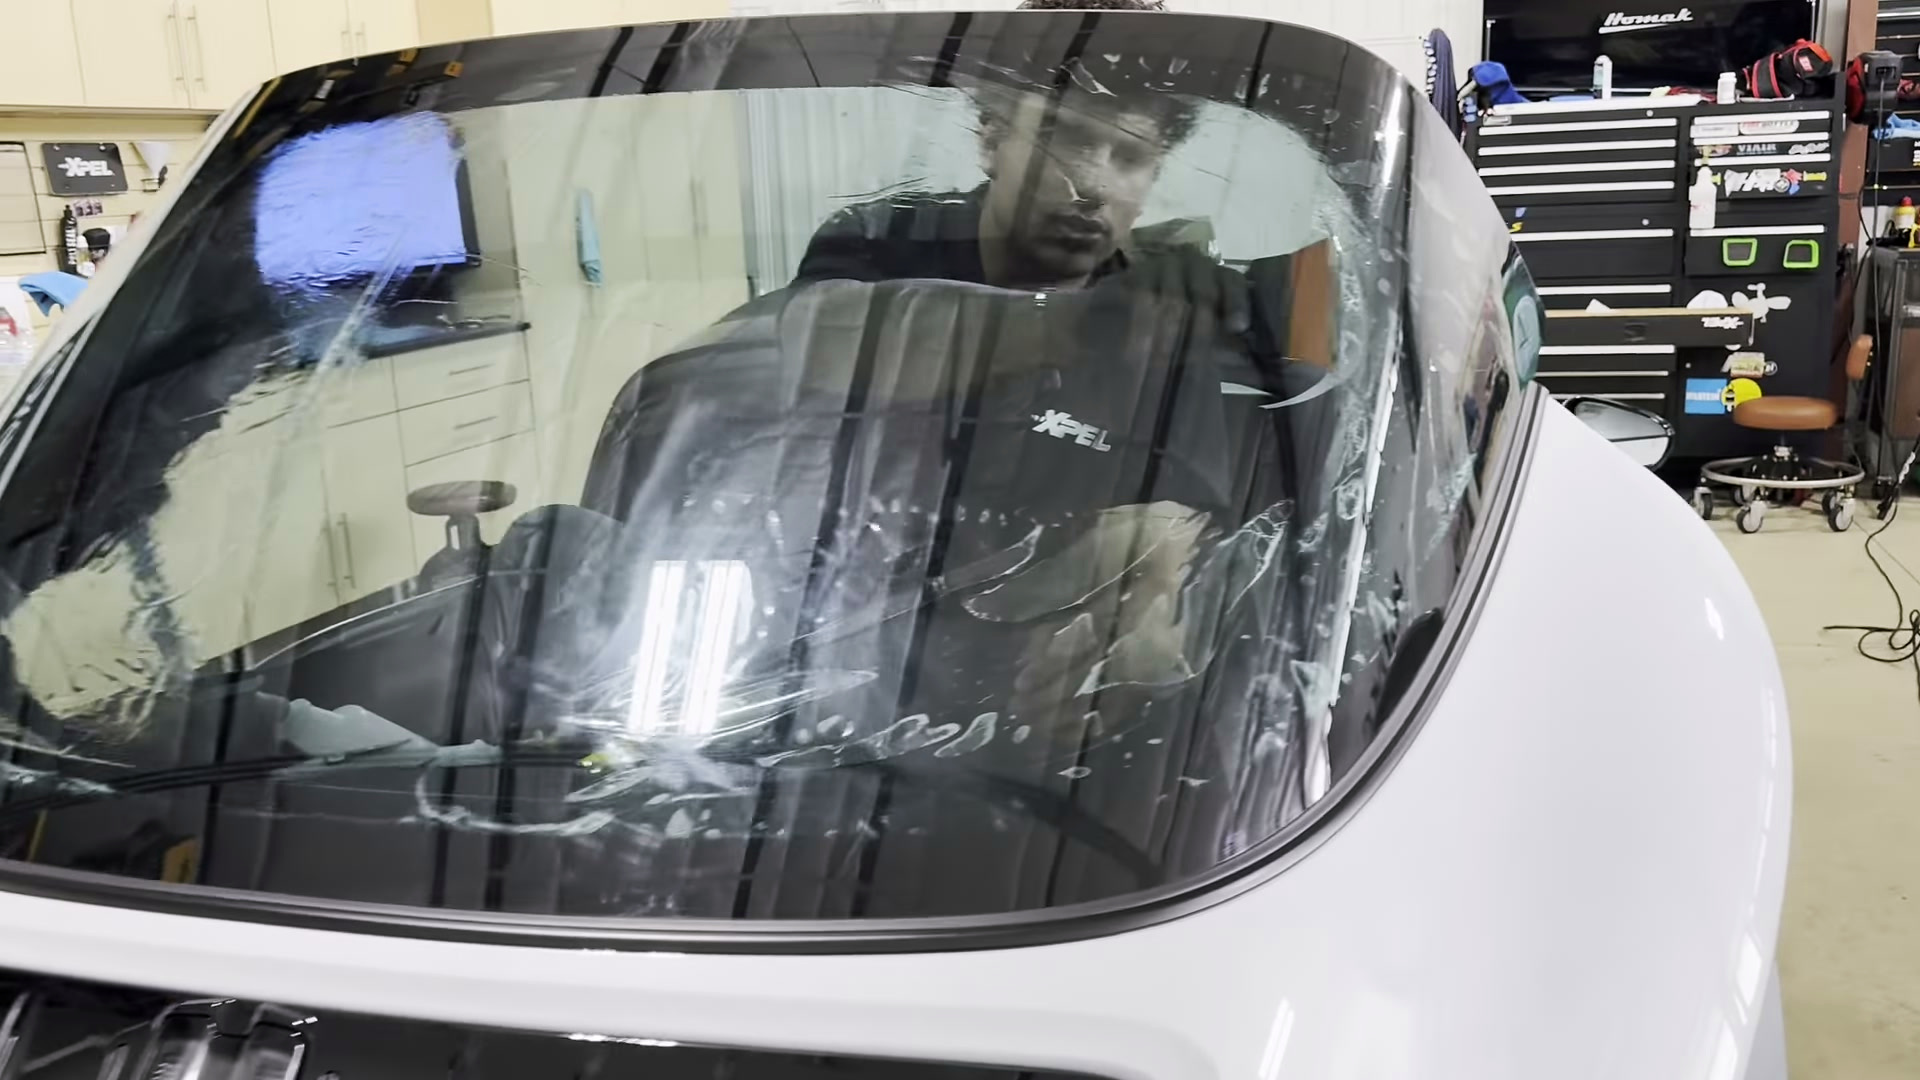
Squeegee working outward from the anchored middle of the rear-window film. Frame captured at 24:04 in the Auto Vos video. Select the image to inspect it full size. Step 9 of 10
Work trapped water out of the lower corners
Look for narrow raised pockets, often called fingers, that return after a pass. Check whether the tool is reaching the bottom of the pocket. Change direction or use an appropriate firmer or reaching tool, as the installer does, so the water has a path out.
What makes the difference: A finger that keeps coming back may still hold water. Flattening its top without clearing the bottom can leave a dry air pocket later.
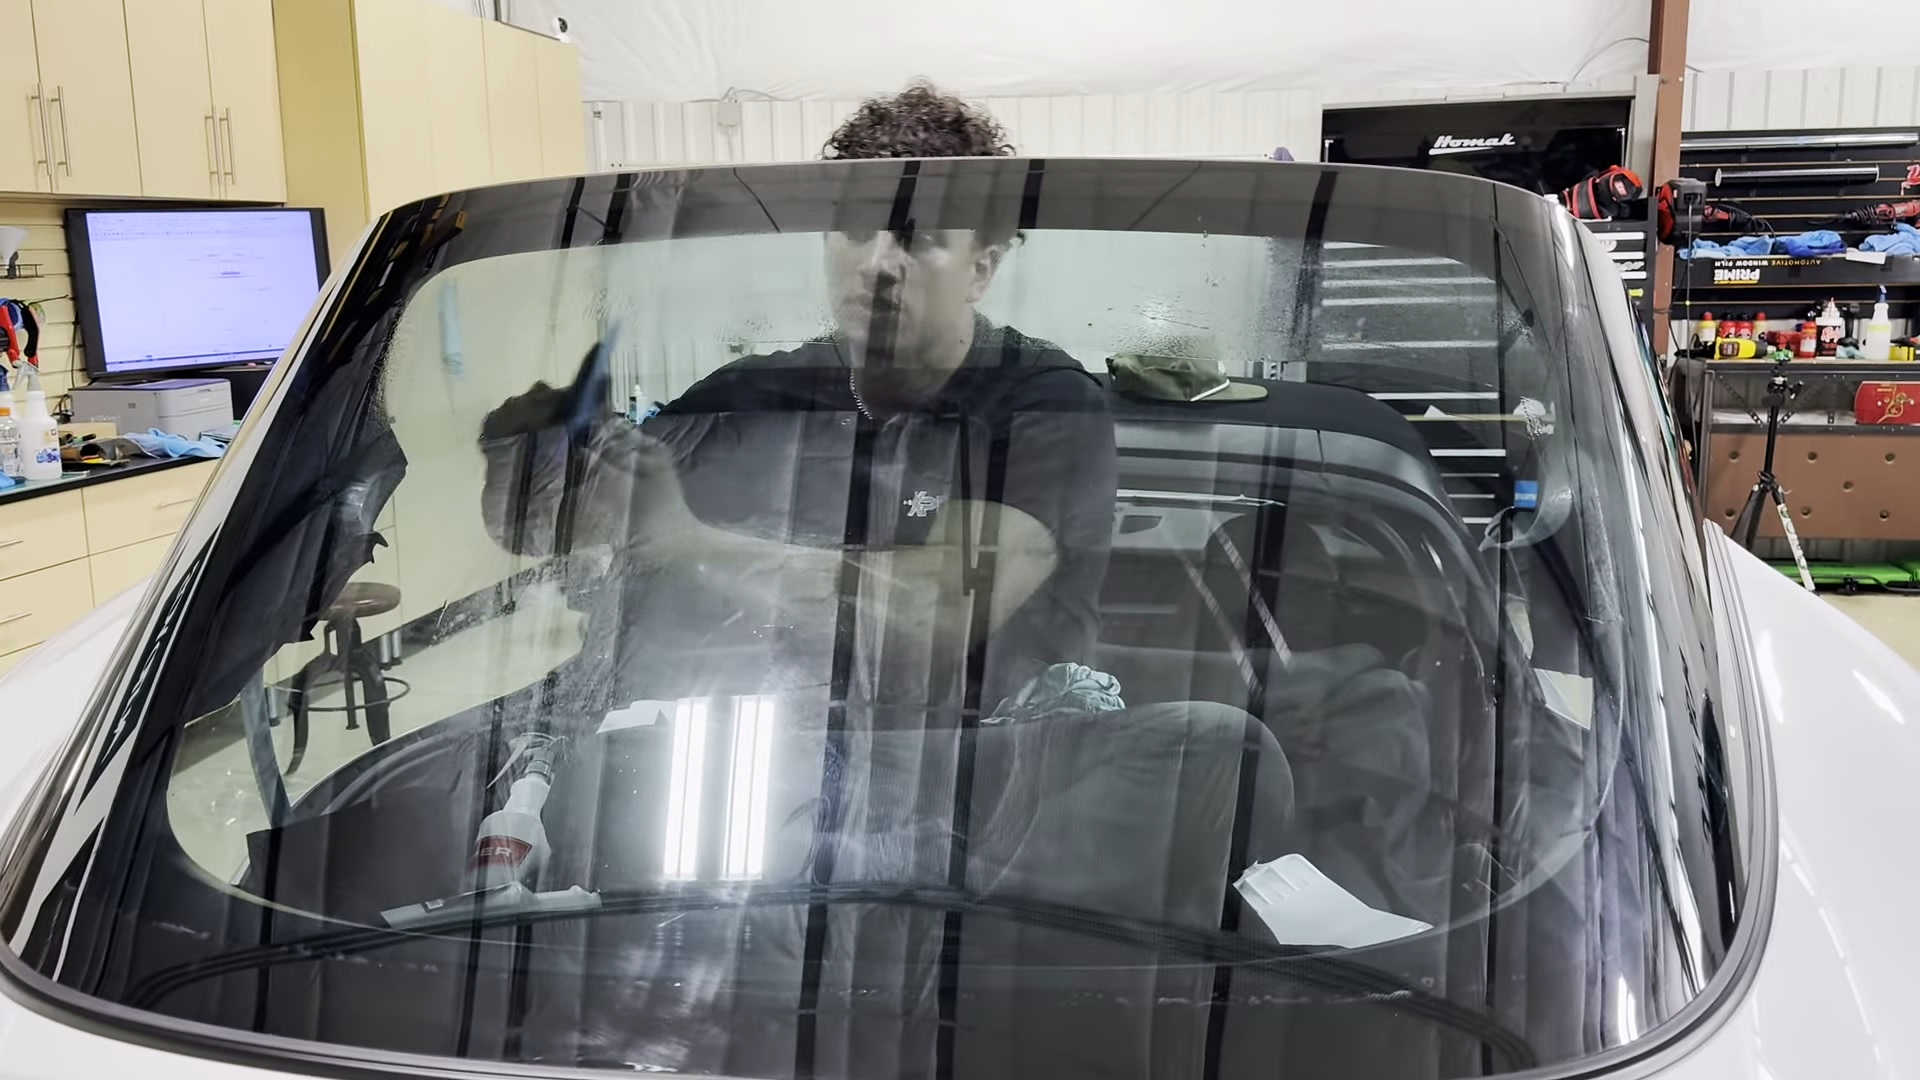
Installer using a firm squeegee to work water out near the curved edge. Frame captured at 28:00 in the Auto Vos video. Select the image to inspect it full size. Step 10 of 10
Set the remaining fingers and inspect the edges
The final sequence uses controlled heat and a tool to settle the remaining fingers, with the heat directed away from the trim. Use the film maker’s guidance for heat and application; the demonstration’s timing is not a universal setting. Recheck the lower edge, corners and visible glass before calling the installation finished.
What makes the difference: Look for lifting edges, returning fingers, light gaps and trapped contamination. Do not assume more heat will fix a crease or a speck. Inspect the finish as well as whether the film stays down.
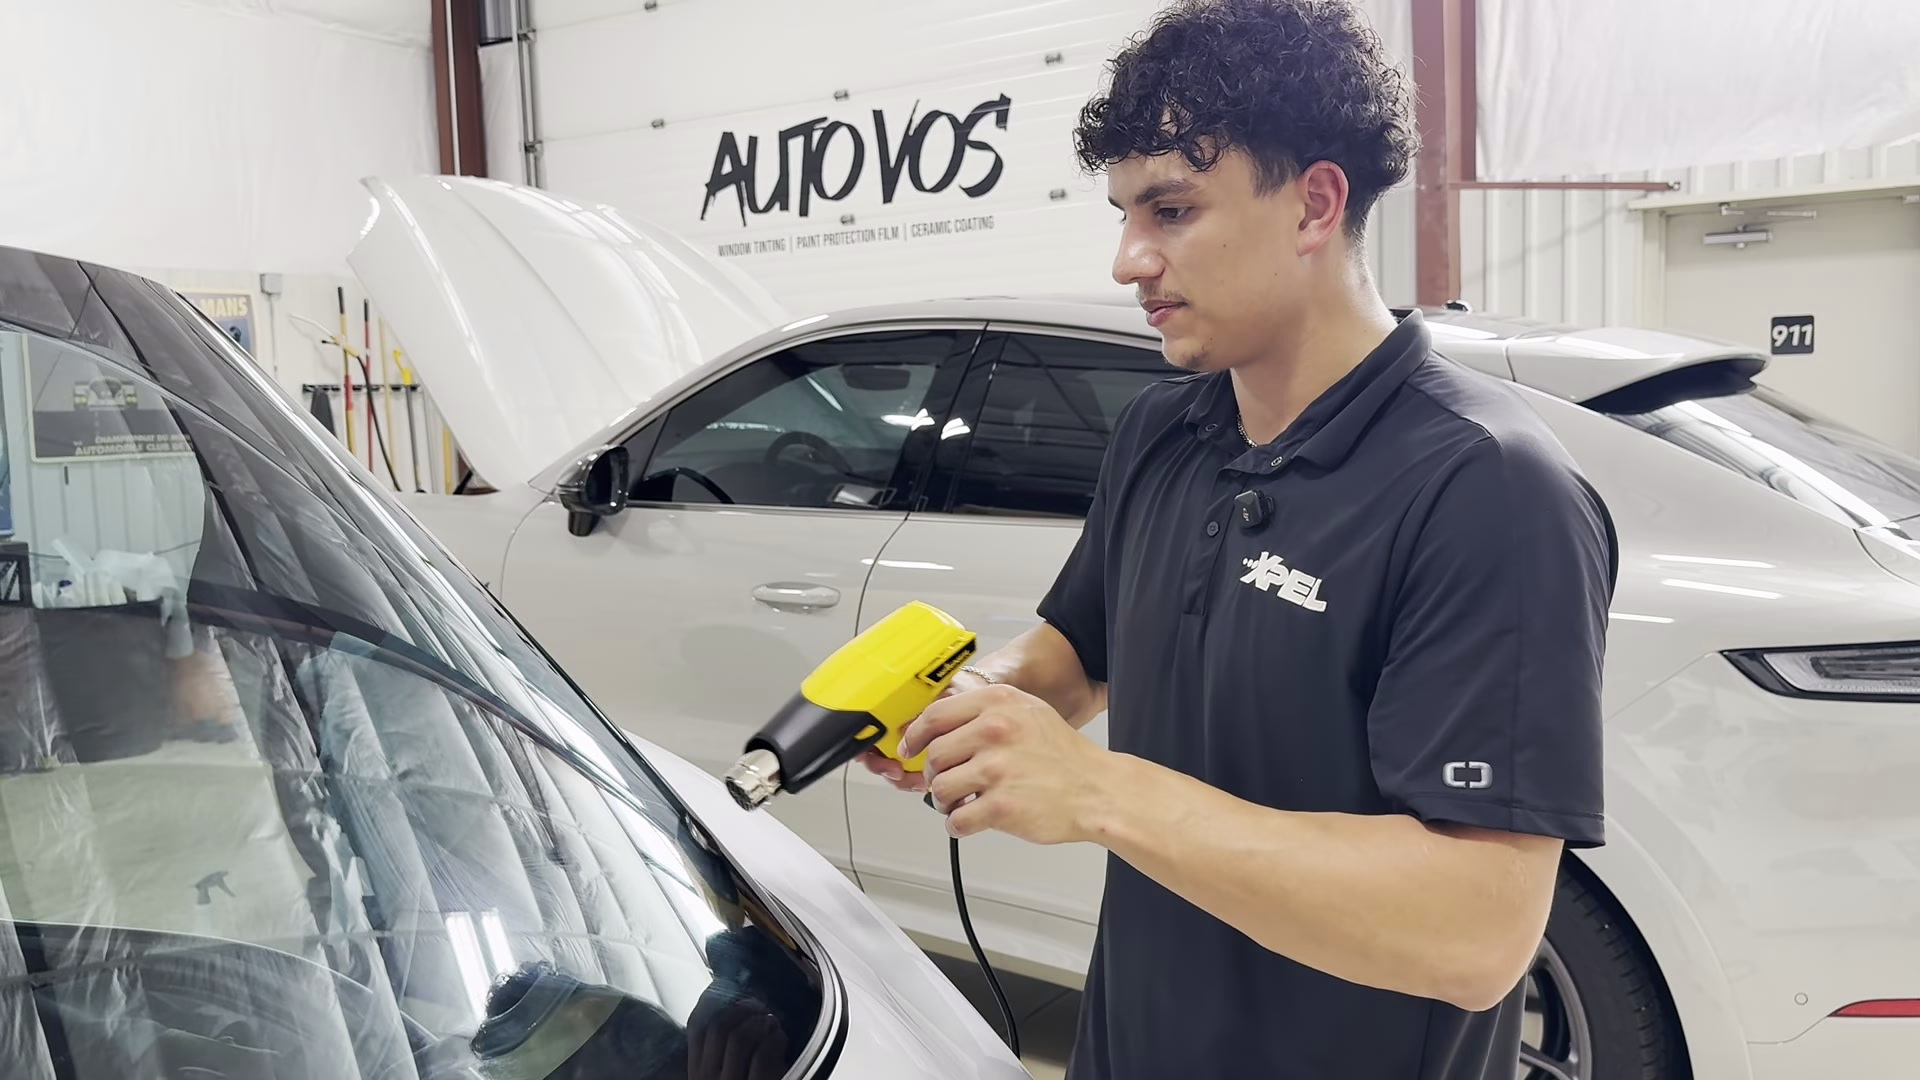
Heat gun aimed toward the rear glass during the final edge-finishing sequence. Frame captured at 35:22 in the Auto Vos video. Select the image to inspect it full size.
Tint not going to plan?
If you’ve ended up with a crease, trapped dirt or an edge that keeps lifting, send us a few photos before trying more heat or pulling the film off. We can discuss whether the installation needs inspection, removal or replacement. Photos help us understand the problem; they don’t always show everything we need to check.
If you haven’t started, you don’t need to tackle this rear window yourself. And if you’re simply comparing installers, ask how they protect the interior, check the edges and deal with contamination.
Let us take a look at your Targa.
Tell Auto Vos your model year, the windows you want tinted and whether there’s existing film or a DIY problem. We’ll discuss the work and give you a quote for your car at our Colorado Springs studio. Get a quote.
Get a Targa tint quote